
Schoology Parent Account
How Families Sign up for a Parent Account in Schoology
- Go to www.schoology.com.
- Click Sign Up at the top of the page and choose Parent.
- Enter your Parent Access Code. This is a 12-digit code in xxxx-xxxx-xxxx format that you receive from one of your child's instructors.
- Fill out the form with your information.
- Click Register to complete.
When parents use a Parent Access Code to create an account, they are automatically associated with their child. They can add additional children to your account using the Add Child option.

Notes: Parent Access Codes are unique to each student but can be used to make multiple parent accounts.
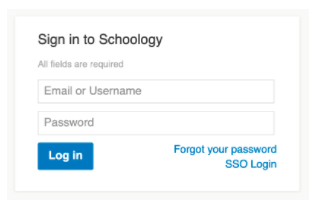
Schoology Email Login
- Go to app.schoology.com
- Enter your Email and Password.
- Click Log in.
Schoology Username Login
- Go to app.schoology.com
- Enter your Username, Password, and the name of your child's school. To find the school, enter the name of the school in the School or Postal Code field. As you type, a menu will appear that enables you to select the school.
- Select the school from the list.
- Check the box to Remember my School (optional). This setting saves your school on the current device and browser.
- Click Log in.

Schoology Homepage: Your Parent account compared to your child's Schoology information
Having a Parent account in Schoology is actually like having two accounts:
- Your personal account, with your own name and information;
- Your Child Activity view. From here, you can view Schoology from your child’s perspective, and see what he or she sees, and receive updates about his or her activity.
Start by clicking the arrow in the upper-right corner, next to your name, and then select your child’s name to switch into their account. If you have multiple children associated with your account, all will be displayed in this area. The check mark in this drop-down menu indicates which account you are currently viewing.
